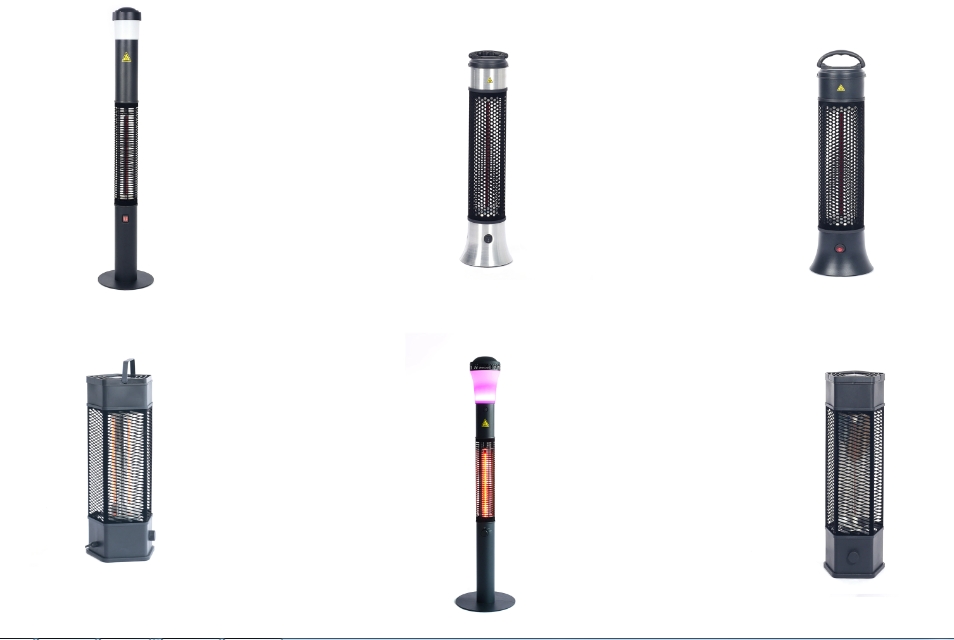
Keeping Your Outdoor Heaters Running (Without the Headache)
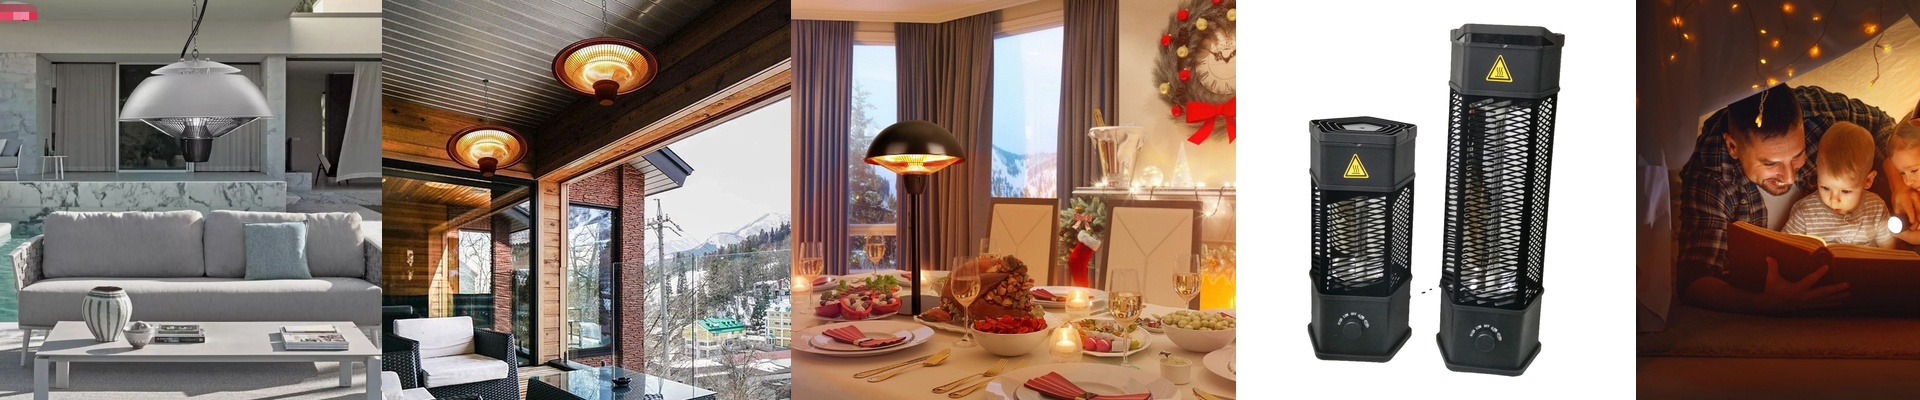
Let’s be honest: outdoor heaters have a tough life. They sit out in the rain, freeze in the winter, and bake in the sun. We build our units with an IP65 rating to keep the water out, but there’s one thing you can’t avoid—the heating elements eventually wear out. It’s just physics. But here’s the real kicker. The cost of a replacement tube isn’t what hurts; it’s the nightmare of the labor. Nobody wants to spend an entire afternoon fighting with a heater just to get some warmth back.
A Simpler Way to Swap Parts
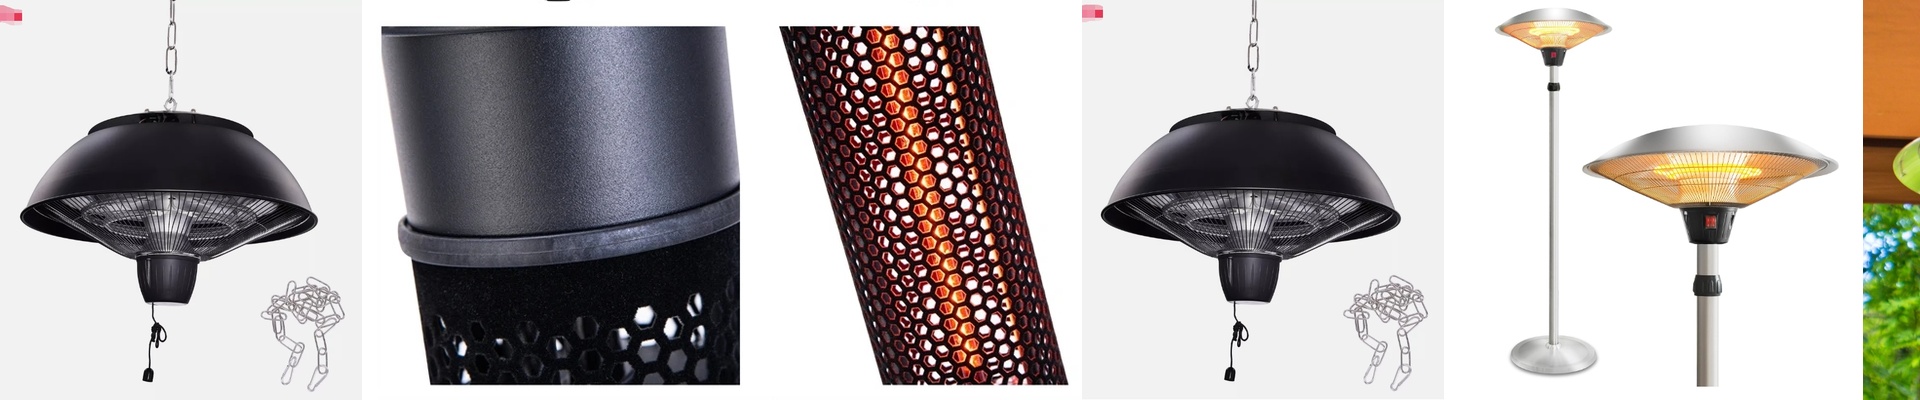
We got tired of seeing people strip an entire chassis and wrestle with messy hard-wired connections just to fix one part. So, we changed the design. We went with a “drop-in” style. If a tube gives up the ghost after five years, you don’t have to touch the control board or rewire anything. You just pull the housing, slide the old element out, and click a new one in. It turns a grueling few hours of work into a five-minute job. It’s satisfyingly simple.
Staying Dry and Tight
Now, making things easy to swap usually means risking a leak. To keep that IP65 seal tight, we use reinforced gaskets and compression seals. It means your electronics stay bone-dry, even if you’re servicing the unit right there in the rain. Just a heads-up: if you’re swapping modules a lot, those seals can wear down. I’d suggest taking a quick look at the gaskets every couple of years. A quick check now saves a lot of trouble later.
Built for the Long Haul
The best part about this layout? It’s flexible. If you realize you need more heat than you originally thought, you can just swap in higher-wattage modules without ripping out the whole installation. We spent a lot of time obsessing over the clips and connectors so that whoever is on-site doesn’t need a specialized toolkit to get things humming again. Just a few simple moves, and you’re back to enjoying the patio.